
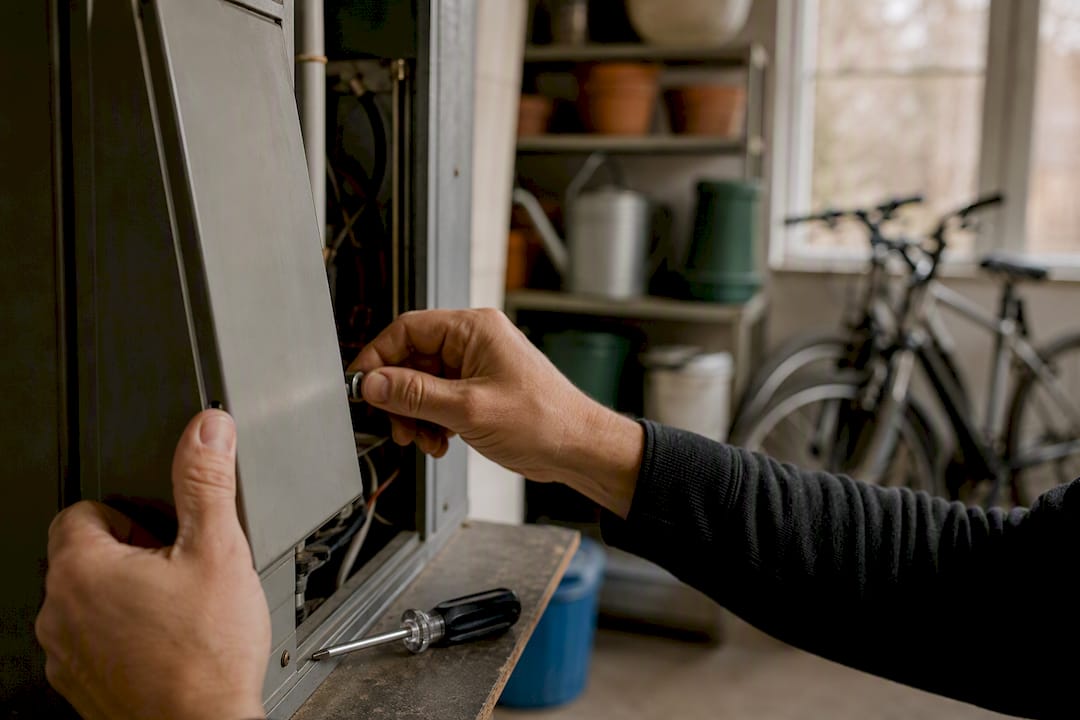
Preparing for an HVAC Emergency Technician Visit
If your furnace or AC has failed, do four things right now: shut the system down if it’s making unsafe noises or smells, get people and pets away from the unit, clear a path to your indoor and outdoor equipment, and jot down exactly what happened before you called for help. Those four steps, done in the first ten minutes, often determine whether your technician spends billable time diagnosing your symptoms or clearing your garage.
Here’s the short version to post on your fridge:
- Shut off the system at the thermostat or breaker if you smell gas, hear grinding, or see smoke.
- Don’t keep resetting a breaker that trips repeatedly. That’s a sign of a real problem, not a fluke.
- Note any smells, sounds, or error codes on the thermostat display.
- Unlock gates and clear the path to your outdoor unit.
Pro Tip: ENERGY STAR recommends basic homeowner checks like thermostat settings and filters before assuming the worst. A quick look sometimes solves the problem before the technician even leaves the shop. For anything beyond that, HVACDatabase and Strong Heating And Cooling both advise against repeated troubleshooting on a system that’s already acting unsafe.
Key Takeaways
Preparing for an HVAC emergency technician visit comes down to safety first, cleared access, documented symptoms, and ready paperwork, all of which cut diagnostic time and cost.
| Point | Details |
|---|---|
| Shut down unsafe systems immediately | Stop the unit if you notice gas smell, smoke, or repeated breaker trips. |
| Clear 3 feet around your equipment | Open access lets the technician start diagnosing the moment they arrive. |
| Document the symptom timeline | Note when it started, what you heard or smelled, and any error codes. |
| Gather model numbers and records | Have your system’s serial number and maintenance history ready to hand over. |
| Call Strong Heating And Cooling for 24/7 dispatch | Licensed technicians carry common parts on the truck to resolve issues in one visit. |
Table of Contents
- Preparing for an HVAC Emergency Technician Visit: Your Pre-Arrival Checklist
- What Safety Hazards Mean You Should Call 911, Not a Technician
- What Does an Emergency HVAC Technician Do During the Visit?
- How Can You Speed Up Diagnosis and Cut Emergency Fees?
- What Are Typical Emergency HVAC Visit Costs and Timelines?
- What Questions Should You Ask the HVAC Technician?
- How Does Homeowner Prep Actually Change the Repair?
- Get Emergency HVAC Help Now
- Sources
- FAQ
Preparing for an HVAC Emergency Technician Visit: Your Pre-Arrival Checklist
You don’t need an hour to get ready for a service call. Fifteen to twenty minutes of focused prep usually covers everything a technician needs to work efficiently the moment they walk in.
Start with access. Clear at least 3 feet of open space around your indoor unit and outdoor condenser or furnace closet. Technicians often have to charge extra time just moving boxes, patio furniture, or storage bins before they can even open a panel. Unlock any gates, move vehicles blocking the driveway or side yard, and if it’s safe, open the access panel on your indoor unit so the tech isn’t waiting on you to find a screwdriver.
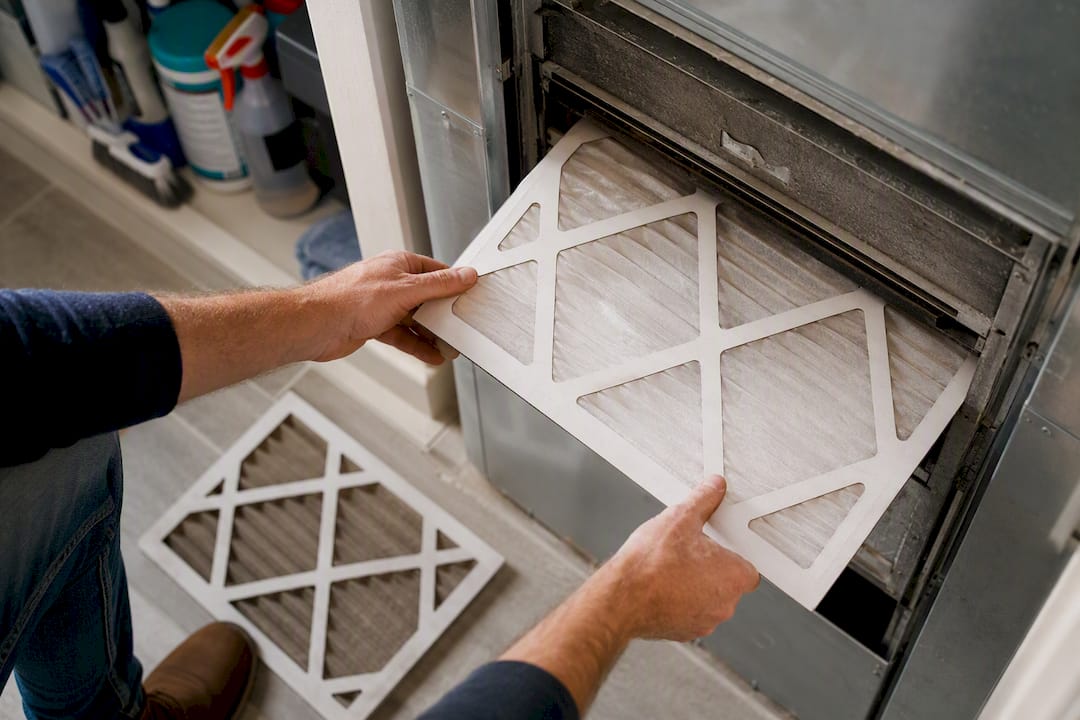
Next, handle the easy stuff yourself. Replace a visibly dirty filter, check your thermostat batteries, and confirm the thermostat is set to the mode and temperature you expect. HVACDatabase’s guidance for U.S. homeowners recommends locating your breaker and noting whether it’s tripped, since that single detail can redirect a diagnosis in minutes.
Paperwork matters more than most homeowners realize. Find your system’s model and serial numbers (usually on a sticker on the indoor air handler or outdoor unit), pull together any recent maintenance records or warranty paperwork, and have them ready. If you’ve had a previous emergency repair or you’re overdue for a tune-up, mention it up front.
Finally, sort out your household logistics. Secure pets in a separate room, keep kids clear of the work area, and if you can’t be home, designate a contact person with a clear spending limit so repairs don’t stall waiting on your callback.

Pro Tip: Snap a photo of your unit’s rating plate with your phone. It gives you permanent access to the model and serial number and saves you from crawling behind the furnace mid-call.
| Point | Details |
|---|---|
| Clear 3 feet of space | Move stored items away from indoor and outdoor units before the technician arrives. |
| Handle the basics yourself | Swap a dirty filter and check thermostat batteries and settings first. |
| Have model and serial numbers ready | Photograph the rating plate so you’re not searching for it during the visit. |
What Safety Hazards Mean You Should Call 911, Not a Technician
Some HVAC failures are inconvenient. Others are dangerous, and knowing the difference protects your family more than any checklist.
Evacuate immediately and call 911 or your gas utility if you smell rotten eggs, which signals a natural gas leak, or if your carbon monoxide alarm activates. Do the same for visible smoke, sparks, or a burning, charred odor near your furnace or electrical panel. A breaker that trips repeatedly while you notice a burning smell is not something to keep resetting. It’s a warning your system is trying to give you.
Here’s the quick reference:
- Gas smell: Leave the house, don’t flip switches, call your gas provider and 911 from outside.
- Carbon monoxide alarm: Evacuate immediately, get fresh air, call 911.
- Smoke or sparks: Cut power at the breaker if safely reachable, then get out.
- Burning smell with repeated breaker trips: Leave the breaker off, do not reset again, call for emergency service.
Bryant’s guidance on emergency HVAC situations is blunt about one thing: running a malfunctioning system rather than shutting it down often turns a repairable issue into a compressor replacement.
Pro Tip: Never attempt refrigerant or high-voltage electrical repairs yourself, even if you’re handy. These systems carry lethal voltage and pressurized refrigerant that require licensed handling. For more on spotting trouble early, see our guide on warning signs your HVAC needs emergency repair.
What Does an Emergency HVAC Technician Do During the Visit?
Knowing the sequence takes the mystery out of the visit and helps you understand why some diagnoses take fifteen minutes and others take an hour.
- Initial triage. The technician does a visual inspection of your equipment and asks what happened, when it started, and what you’ve already tried.
- Confirm history and symptoms. This is where your notes and photos pay off. Clear symptom timelines cut guesswork.
- Power and thermostat checks. They verify the system is getting power and the thermostat is calling correctly.
- Targeted diagnosis. Using tools to measure static pressure (airflow resistance in your ducts), amp draw (electrical load on the motor), and refrigerant pressure, the technician isolates the actual failure point.
- Stabilize or repair. If the part is on the truck, they’ll usually repair on the spot. If not, they’ll stabilize the system safely and schedule a follow-up.
- Final testing. The system runs through a verification cycle to confirm the fix holds under normal operation.
According to American PHC’s overview of emergency service calls, you should expect a written diagnosis and an itemized estimate before major work begins, not a verbal number and a hope.
A proper service report should list the diagnosis, parts used, labor charges, and any warranty terms in writing.
| Outcome | What it means for you |
|---|---|
| Written diagnosis | You get a clear explanation of what failed, not just “it’s fixed.” |
| Itemized estimate | Parts and labor are broken out separately before you approve the work. |
| Temporary stabilization | If parts aren’t available, the tech keeps the system safe until a return visit. |
How Can You Speed Up Diagnosis and Cut Emergency Fees?
The technician’s clock starts the moment they arrive, and everything you do beforehand either saves or costs you money.
- Clear access to both the indoor and outdoor units before the truck pulls up.
- Swap in a fresh filter if yours looks gray or clogged.
- Write down a symptom timeline: when it started, what you heard or smelled, and what you tried.
- Have your model and serial numbers ready.
- Take a short video or photo of the symptom, whether that’s a blinking error light or an odd noise.
- Unlock gates and move vehicles out of the way.
Don’t open electrical panels, touch refrigerant lines, or bypass safety switches. These aren’t corners worth cutting to save a service fee.
HVACDatabase’s Canadian field data puts real numbers on this: homeowners who clear access, swap filters, and document symptoms before the visit often save between $50 and $120 on the service call, mostly by cutting the time a technician spends untangling the problem instead of fixing it. Ask whether your diagnostic fee applies toward the repair cost, and whether the company guarantees common parts on the truck, since that avoids a costly return trip.
Pro Tip: A tech we spoke with put it simply: a 3-minute photo of your control board on arrival can save 30 minutes of troubleshooting later. It gives the technician a starting point instead of a blank slate.
What Are Typical Emergency HVAC Visit Costs and Timelines?
Emergency diagnostic fees typically run higher than a scheduled daytime appointment, with additional premiums for after-hours, weekend, or holiday calls. Exact numbers vary by region and company, so check local pricing, but budgeting for an elevated emergency rate versus a standard tune-up call is realistic almost everywhere.
Timeline-wise, expect an arrival window rather than an exact time, especially during high-demand periods like the first cold snap of the season. Triage usually takes 15 to 30 minutes. Simple fixes, like a blown capacitor or a tripped safety switch, can often be resolved same-visit. More complex repairs, especially ones needing a special-order part, may require a temporary stabilization followed by a scheduled return.
- Ask upfront whether the diagnostic fee is credited toward the repair.
- Request a written, itemized estimate for any work above a set dollar amount you’re comfortable with.
- Confirm whether the quote includes labor warranty, not just parts.
Routine preventive maintenance is the most reliable way to avoid emergency-rate pricing altogether, since ENERGY STAR’s maintenance checklist shows that seasonal tune-ups catch small failures before they become after-hours calls.
What Questions Should You Ask the HVAC Technician?
A short, direct list of questions protects you from surprise charges and unclear repairs.
- Are you licensed and insured for this type of work in my area?
- What exactly is causing the problem, in plain terms?
- Is this a permanent fix or a temporary stabilization?
- Can I get an itemized breakdown of parts and labor before you start?
- What warranty applies to the parts and the labor separately?
- If parts need to be ordered, what’s the realistic delivery timeframe?
If you won’t be home, set an approval threshold with the technician or dispatcher beforehand so repairs don’t stall on your callback. Ask about recommended post-repair maintenance too. A tech who just replaced your capacitor may flag that your system is close to needing a full tune-up anyway.
How Does Homeowner Prep Actually Change the Repair?
After decades combined in Colorado Springs homes, the pattern is consistent: the visits that move fastest are the ones where the homeowner already cleared a path and knew roughly when the problem started.
A tech doesn’t need you to diagnose the system. They need the timeline, the access, and the paperwork. Give them those three things and the diagnosis often takes half the time.
We’ve seen calls where a homeowner’s photo of a blinking error code let the technician bring the right part on the first trip instead of a second visit. We’ve also seen the opposite: units buried behind storage bins, adding twenty minutes before any actual diagnosis could start.
Pro Tip: Techs want three things on arrival: clear access, your system’s basic history, and a straight answer about when the trouble started.
A field note on what homeowners get right, and wrong
We’ve noticed the same pattern for years. Homeowners who clear the unit and jot down what happened get faster, cheaper visits. Those who reset breakers repeatedly or hide the outdoor unit behind the trash cans slow everything down. The printable checklist above exists because those small habits, done consistently, protect both your safety and your wallet.
Get Emergency HVAC Help Now
Nobody wants to be reading a checklist while their furnace is dead and it’s 20 degrees outside. That’s exactly why Strong Heating And Cooling built emergency dispatch around speed instead of guesswork: our technicians carry the parts and diagnostic tools most emergency calls need on the truck, so a first visit is often the only visit.

Every technician we send is licensed, insured, and backed by our workmanship warranty, and we run 24/7 emergency HVAC repair coverage across Colorado Springs and the surrounding area, so a 2 a.m. furnace failure doesn’t mean waiting until Monday. If your system needs more than a quick fix, our team also handles full heating installation and replacement with financing options available for larger repairs. If you’re dealing with a no heat, no cool, or a system throwing error codes right now, call our emergency line or request service online and we’ll walk you through what to do while help is on the way.
Sources
- ENERGY STAR: HVAC maintenance checklist
- What to do before the HVAC technician arrives — HVACDatabase (US)
FAQ
How much does an emergency HVAC visit cost?
Emergency diagnostic fees run higher than standard daytime visits, with after-hours, weekend, or holiday premiums adding to the base rate. Check with your local provider for exact pricing, and ask whether the fee applies toward any repair.
Should I shut off my HVAC system before the technician arrives?
Yes, if you notice unsafe symptoms like burning smells, smoke, grinding noises, or repeated breaker trips. Running a failing system can turn a simple repair into a much larger one, according to Bryant’s emergency repair guidance.
What is the 20 degree rule for HVAC?
The 20 degree rule refers to checking the temperature difference between the air entering and leaving your air handler. A properly working AC system typically produces about a 20 degree drop; a smaller or larger gap can point technicians toward airflow or refrigerant issues during diagnosis.
What’s the $5,000 rule in HVAC?
This is a rough decision guideline some homeowners use, considering the age of the system and repair cost to evaluate whether replacement may be more sensible than repair. It’s a starting point for discussion with your technician, not a fixed formula.
Can I do anything myself before the technician arrives?
Yes. Replace a dirty filter, check thermostat batteries and settings, locate your breaker, and clear access around your equipment. Avoid any refrigerant or electrical panel work, which requires licensed handling.
Recommended
- Questions to Ask an Emergency HVAC Technician | Strong Heating And Cooling
- Emergency HVAC: What to Do When Comfort Can’t Wait | Strong Heating And Cooling
- Why an HVAC Emergency Response Plan Matters | Strong Heating And Cooling
- HVAC Emergency Safety Steps Every Homeowner Should Know | Strong Heating And Cooling
Need expert HVAC help?
Colorado Springs' trusted, veteran-owned heating & cooling team — same-day service.