HVAC Capacitor Failure: What Homeowners Need to Know
TL;DR:
- HVAC capacitor failure occurs when the component can no longer store enough electrical energy to run motors properly.
- Early signs include humming fans, hard starts, warm vents, and higher energy bills, but professional testing confirms the diagnosis.
HVAC capacitor failure is defined as the point when a capacitor can no longer store and release enough electrical energy to start or run your system’s motors properly. Every air conditioner and heat pump relies on one or more capacitors to deliver the electrical boost that gets the compressor and fan motors moving. When that component weakens, the entire system struggles. Standard residential run capacitors range from 5µF to 80µF, and a unit is considered failed once its capacitance drops 6–10% below its rated value. That threshold matters because a capacitor can be failing long before your system stops working entirely, and the damage it causes along the way can be expensive.
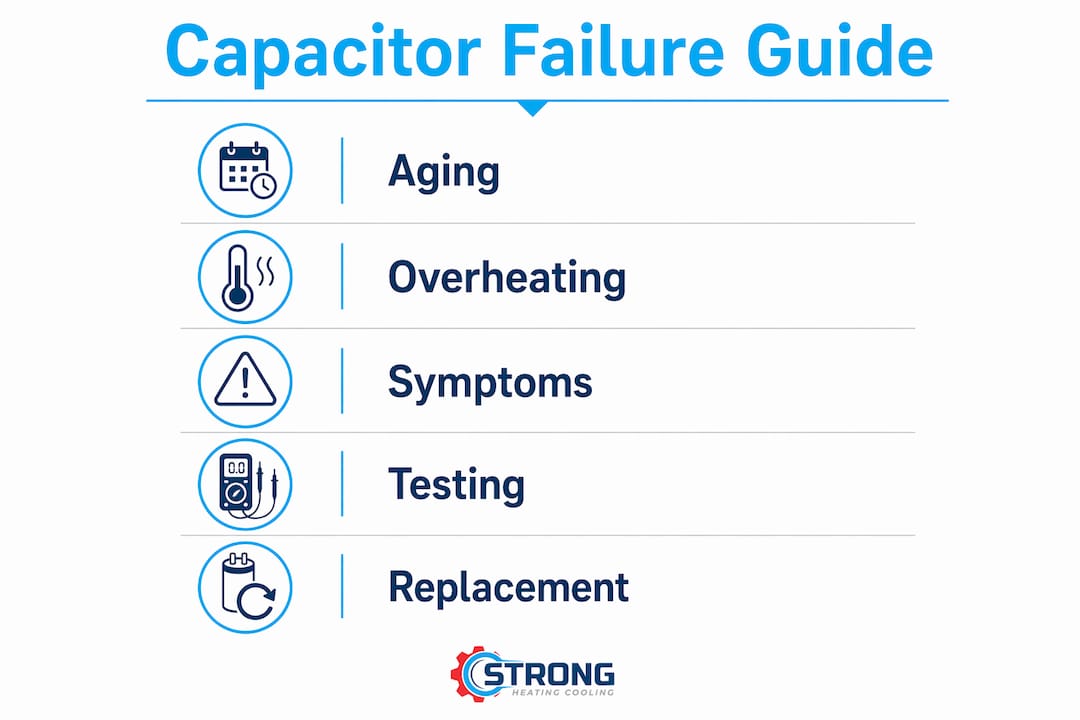
What causes an HVAC capacitor to fail?
Capacitor failure rarely happens without warning. Several well-documented causes accelerate the process, and most of them are tied to how hard your system works and the conditions it operates in.
Aging is the most common cause. Every time a capacitor charges and discharges to start a motor, the internal dielectric material degrades slightly. Over years of daily cycling, that degradation adds up until the capacitor can no longer hold its rated charge. This is a normal wear process, not a defect.
Overheating is the second major cause, and it hits hardest in hot climates. In high-heat environments, capacitors often require replacement every 5–8 years because sustained high temperatures accelerate the breakdown of internal materials. A capacitor mounted inside an outdoor unit that regularly sits in direct sun and high ambient temperatures degrades far faster than one in a mild climate.
Electrical stress also plays a significant role. Power surges, voltage fluctuations, and utility grid events push more energy through the capacitor than it was designed to handle. Each surge event causes microscopic damage to the internal structure. Over time, those events compound into measurable capacitance loss.
Environmental factors round out the list. Dirt and debris buildup around the capacitor traps heat. Moisture infiltration corrodes terminals and internal components. Vibration from the unit itself can loosen connections and stress the capacitor casing. None of these factors cause immediate failure on their own, but they all shorten the component’s usable life.
- Aging from repeated charge and discharge cycles
- Overheating from high ambient temperatures and direct sun exposure
- Electrical surges and voltage fluctuations from the power grid
- Dirt and debris buildup that traps heat around the component
- Moisture infiltration and terminal corrosion
- Vibration causing connection loosening and casing stress
Pro Tip: If your outdoor unit sits in full afternoon sun, adding a shade structure above it (not blocking airflow) can meaningfully reduce the heat load on the capacitor and extend its life.
What are the common symptoms of HVAC capacitor failure?
Recognizing the signs of a failing capacitor early can save you from a much larger repair bill. The symptoms are specific enough to point toward a capacitor problem, but they do overlap with other failures, which is why diagnosis matters.
Humming with no fan movement
The most recognizable sign is a humming sound from the outdoor unit while the fan blade sits still or spins very slowly. The motor is receiving power but lacks the electrical boost to overcome inertia and reach operating speed. This is a classic capacitor fail symptom and one of the clearest indicators that the component needs attention.
Hard starts and failed starts
A system with a weakening capacitor often struggles to start the compressor. You may hear the unit attempt to kick on, stall, and then shut off after a few seconds. This is called a hard start. Repeated hard starts put enormous stress on the compressor windings. Left unaddressed, that stress leads to compressor failure, which costs far more to fix.
Warm air from the vents
When the fan motor cannot reach full speed or the compressor cannot sustain operation, cooling output drops. You may notice the air coming from your vents feels warm or only slightly cooler than room temperature. This symptom is easy to misread as a refrigerant issue, which is why proper diagnosis is critical before any repair work begins.
Rising electricity bills
A failing capacitor causes motors to work harder during the run phase, not just at startup. That extra effort draws more current and raises your energy consumption before the system ever breaks down completely. A sudden unexplained increase in your electric bill during cooling season is worth investigating as a potential HVAC capacitor issue.
Intermittent shutdowns
Some systems with a weak capacitor will run briefly, overheat the motor due to inefficiency, and then trip the thermal overload protection. The unit shuts down, cools off, and restarts. This cycle repeats until the capacitor fails completely or the motor sustains damage.
Symptoms of capacitor failure closely mimic those of compressor failure, including humming, no-start conditions, and loss of cooling. That overlap makes professional electrical testing the only reliable way to confirm which component is actually at fault. Replacing a compressor when the real problem is a $20 capacitor is an expensive mistake that happens more often than most homeowners realize. Checking for early warning signs before the system fully stops working gives you the best chance of catching this problem cheaply.
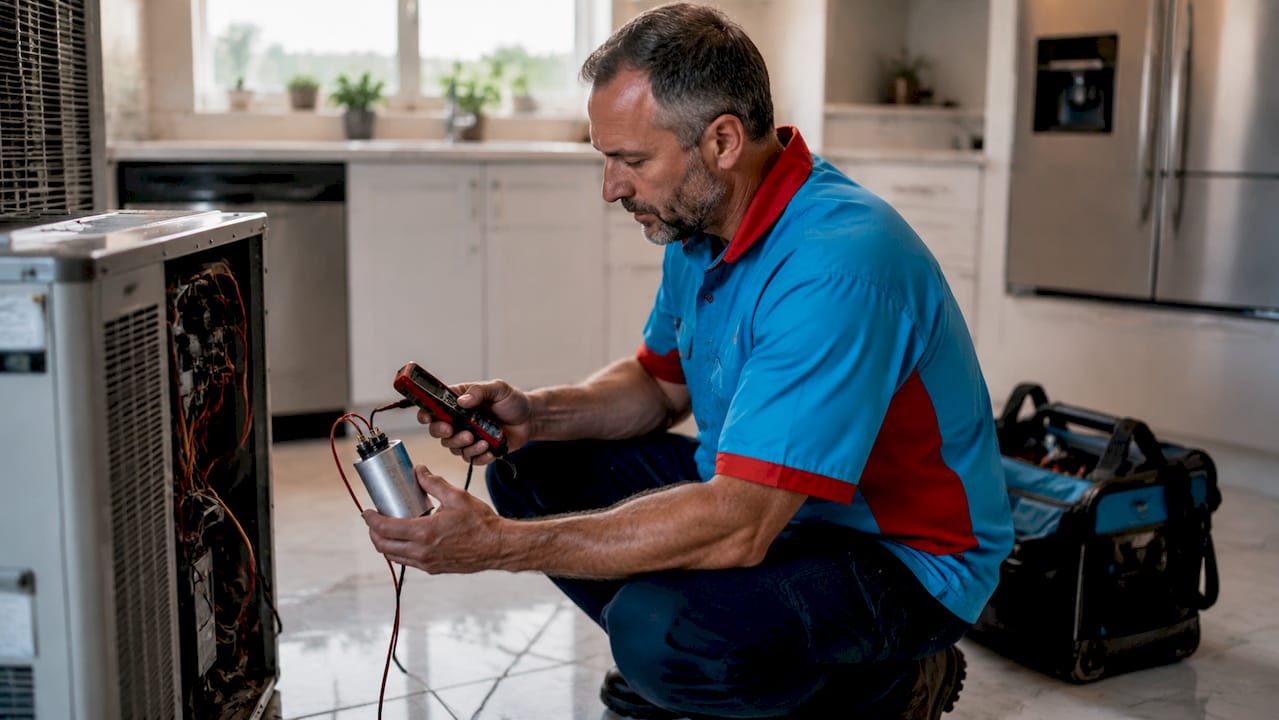
How can you test and diagnose HVAC capacitor failure safely at home?
Testing a capacitor at home is possible, but safety must come first. HVAC capacitors store lethal electrical charges even after the power has been shut off. That charge does not dissipate on its own immediately. Before touching any capacitor terminal, you must discharge the component using an insulated screwdriver bridged across the terminals or a purpose-built discharge resistor. Skipping this step is genuinely dangerous.
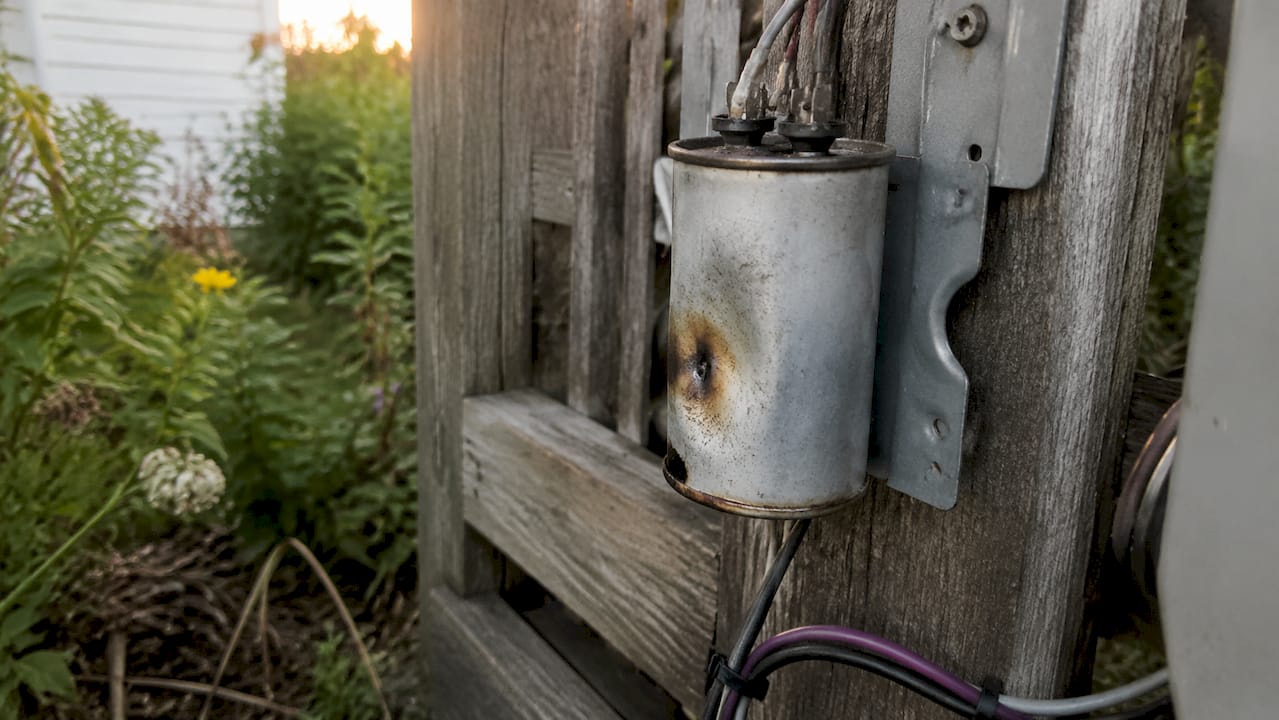
Visual inspection: useful but limited
Start with a visual check. A capacitor with a bulging or domed top has failed catastrophically and needs immediate replacement. Leaking fluid or burn marks around the terminals also indicate failure. However, many capacitors fail internally without any visible signs. A capacitor that looks perfectly normal can still be well below its rated capacitance. Visual inspection is a starting point, not a conclusion.
Multimeter testing with a capacitance setting
A digital multimeter with a capacitance function (labeled µF or CAP) gives you a direct measurement. After safely discharging the capacitor and disconnecting it from the circuit, set your multimeter to the capacitance mode and touch the probes to the terminals. Compare your reading to the rating printed on the capacitor label. A capacitor is considered failed if its measured value falls 6–10% below the labeled rating. That threshold is the industry-accepted standard for residential run capacitors.
- Turn off power at the breaker and the disconnect box near the unit
- Wait at least five minutes before opening the access panel
- Discharge the capacitor using an insulated screwdriver across the terminals
- Photograph the wiring connections before disconnecting anything
- Set the multimeter to capacitance mode (µF)
- Record the reading and compare it to the rating on the label
- Replace the unit if the reading falls more than 6–10% below the rated value
The limits of static testing
Standard capacitance meters test the component at rest. A weak capacitor may pass a static test but fail under the actual electrical load of a running motor. This is why a technician using an ESR (equivalent series resistance) meter or observing the system under operating load can catch failures that a basic multimeter misses. If your multimeter shows a reading within tolerance but your system still shows symptoms, professional load testing is the right next step.
Pro Tip: Never test a capacitor while it is still connected to the circuit. Disconnecting it first protects both you and your multimeter from a potentially damaging discharge.
When in doubt, call a professional. The cost of a service call is a fraction of what a misdiagnosis or an accidental shock can cost you. Reviewing warning signs of electrical HVAC failures can also help you decide how urgently you need help.
What are the typical costs and risks of ignoring capacitor failure?
Understanding the financial picture helps you make a clear-headed decision when your system starts showing symptoms.
Repair costs versus the alternative
Professional diagnosis and capacitor replacement typically costs between $150 and $350, depending on the capacitor type and local labor rates. Compressor replacement, by contrast, runs $1,500 to $3,500. The cost gap is significant. Many compressor replacements happen because a failing capacitor was ignored long enough to destroy the motor windings. Catching the capacitor problem first is almost always the cheaper path.
Replacement intervals by climate
In hot climates, capacitors degrade faster and typically need replacement every 5–8 years. In milder climates, the same component may last longer. Colorado Springs summers push outdoor units hard, which means homeowners in the region should treat the 5–8 year window as a practical planning benchmark rather than a worst-case scenario.
The risk of running a weak capacitor
A capacitor that is below rated capacitance but not yet fully failed puts constant extra stress on the motor. The motor draws more current, runs hotter, and wears faster. Over weeks or months, that stress damages the motor windings in ways that are not reversible. What started as a $200 repair becomes a component replacement that costs many times more. Scheduling preventive HVAC maintenance that includes capacitor checks is the most cost-effective way to stay ahead of this failure mode.
Matching replacement specs exactly
Using a replacement capacitor with the wrong voltage rating or microfarad value risks motor damage and creates electrical hazards. The replacement unit must match the original specifications printed on the label, including both the µF rating and the voltage rating. Going slightly higher on voltage is generally acceptable, but deviating on the µF value, even by a small margin, can shorten motor life or cause immediate damage.
Pro Tip: Take a photo of the original capacitor label before removing it. That photo gives you the exact specs you need when sourcing a replacement, and it eliminates the risk of buying the wrong part.
The decision to repair or replace the broader system is worth thinking through carefully if your unit is already aging. The repair versus replace calculation changes significantly once a system passes the 10-year mark and starts accumulating component failures.
Key Takeaways
HVAC capacitor failure is a predictable, diagnosable, and affordable problem when caught early, but it becomes a costly compressor or motor repair when ignored.
| Point | Details |
|---|---|
| Failure threshold | A capacitor is failed when its capacitance drops 6–10% below its rated µF value. |
| Top causes | Aging, overheating, electrical surges, and moisture are the leading causes of capacitor degradation. |
| Critical symptom overlap | Capacitor failure mimics compressor failure; professional electrical testing prevents costly misdiagnosis. |
| Replacement interval | In hot climates, plan for capacitor replacement every 5–8 years to protect motors and compressors. |
| Spec matching | Replacement capacitors must match original µF and voltage ratings exactly to avoid motor damage. |
What I’ve learned after years of HVAC capacitor calls
The call we get most often in summer is some version of this: “My AC is humming but nothing is happening.” Nine times out of ten, that is a capacitor. The fix is straightforward. What is not straightforward is the number of homeowners who waited weeks after noticing the symptom, hoping it would resolve on its own.
A capacitor does not heal itself. A weak one continues to degrade, and every start attempt with a failing capacitor puts stress on the compressor that accumulates silently. By the time the system stops working entirely, the compressor may already be damaged. That changes a $250 repair into a $2,000 conversation.
The other thing I want homeowners to understand is the safety side. I have seen people attempt to test or replace capacitors without discharging them first. The charge stored in a capacitor is not trivial. It can cause a serious shock even when the power has been off for several minutes. If you are not comfortable with the discharge step, the cost of a service call is genuinely worth it.
My honest advice is this: if your system is more than five years old and you are in a hot climate, ask your technician to check the capacitor during your next maintenance visit. It takes two minutes with a multimeter and costs nothing extra. Finding a capacitor at 70% of its rated value during a routine check is a very different situation from finding it failed on the hottest day of the year.
— Owner
Strongheatingandcooling is ready to help with capacitor diagnosis
When your AC starts humming, struggling to start, or blowing warm air, the capacitor is one of the first things a trained technician will check. Strongheatingandcooling has served Colorado Springs and surrounding communities for over 40 years, and capacitor diagnosis is a standard part of every service call.

Our team carries the right testing equipment to catch both obvious failures and weak capacitors that pass a basic visual check. We match every replacement to OEM specifications so your motors are protected. If you are ready to get your system running right, our AC repair and diagnostic services cover everything from a quick capacitor swap to a full system evaluation. For homeowners across the Colorado Springs area, reliable cooling starts with a phone call.
FAQ
What is HVAC capacitor failure exactly?
HVAC capacitor failure occurs when the capacitor can no longer store and release enough electrical energy to start or sustain motor operation. A unit is considered failed when its capacitance drops 6–10% below its rated value.
How do I know if my AC capacitor is bad?
The most common signs are a humming outdoor unit with a stationary fan, hard starts, warm air from vents, and rising electricity bills. These symptoms overlap with compressor failure, so electrical testing is needed to confirm the cause.
Can I replace an HVAC capacitor myself?
A homeowner with electrical experience can replace a capacitor, but the component must be fully discharged before handling because it holds a lethal charge even after power is off. The replacement must match the original µF and voltage ratings exactly.
How long do HVAC capacitors typically last?
In hot climates, capacitors typically last 5–8 years before degradation affects performance. Milder climates may extend that range, but regular maintenance checks are the most reliable way to catch a weakening capacitor before it fails completely.
What happens if I ignore a failing capacitor?
A weak capacitor forces motors to work harder, raising energy consumption and causing heat buildup in the motor windings. Over time, this leads to motor or compressor damage that costs significantly more to repair than the original capacitor replacement.
Recommended
Need expert HVAC help?
Colorado Springs' trusted, veteran-owned heating & cooling team — emergency service.