
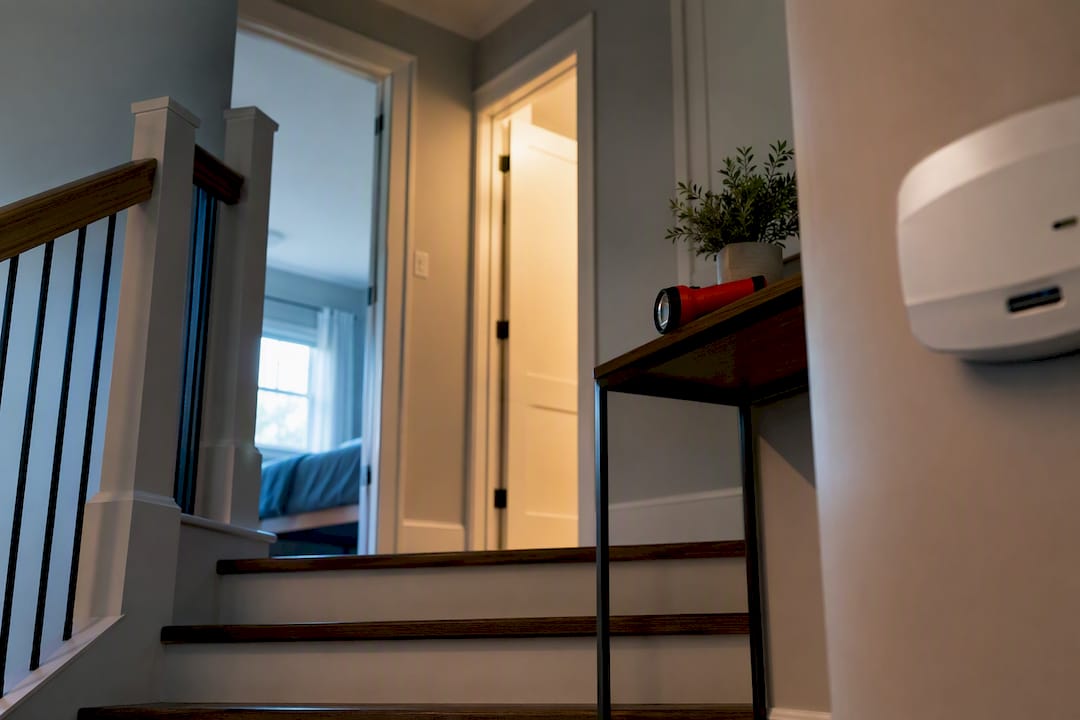
Put a CO alarm on every level of your home, including the basement, and outside each sleeping area. Ceiling or high-wall mounting works best for carbon monoxide detector placement, since it detects the gas promptly due to air mixing and upward convection. Keep detectors at least 15 feet away from furnaces, water heaters, and other fuel-burning appliances, and never mount one inside an attached garage, as advised by Rauchwarnmelder Augsburg | Installation von Elektro Ernst. Interconnect every unit if you can, and test each one monthly.
TL;DR:
- At least one carbon monoxide alarm is required on every habitable level of the home, including the basement, with additional detectors outside each sleeping area within 10 feet of bedroom doors.
- Detectors should be ceiling-mounted or high on the wall within 12 inches of the ceiling for optimal, rapid detection, avoiding placement near windows, vents, or corners.
- Keep detectors at least 15 feet from fuel-burning appliances and never inside garages to prevent nuisance alarms caused by vehicle exhaust or appliance fumes.
- Regular testing monthly, vacuuming vents twice a year, and replacing units every 5 to 7 years ensures sensor reliability, with hardwired models recommended during new construction or remodeling.
- When an alarm sounds, evacuate immediately and call emergency services from outside, then have a qualified technician inspect fuel-burning appliances before re-entry.
Table of Contents
- How Many Detectors You Need and Where to Put Them
- Mounting Height and Exact Placement Details
- Placement by Room: Basements, Garages, Kitchens, and Bedrooms
- Where Not to Install CO Detectors
- Installing, Interconnecting, and Testing Your Alarms
- What to Do When the Alarm Sounds
- When a CO Alarm Isn’t Enough: Calling a Professional
- Why We Pair Detectors With Professional Maintenance
- Sources
- FAQ
How Many Detectors You Need and Where to Put Them
The baseline is simple: one CO alarm on every habitable level of the home, basements included. That standard comes straight from CPSC guidance and gets echoed by nearly every fire-safety authority in the country. A two-story house with a finished basement needs at least three alarms before you even think about extra coverage.
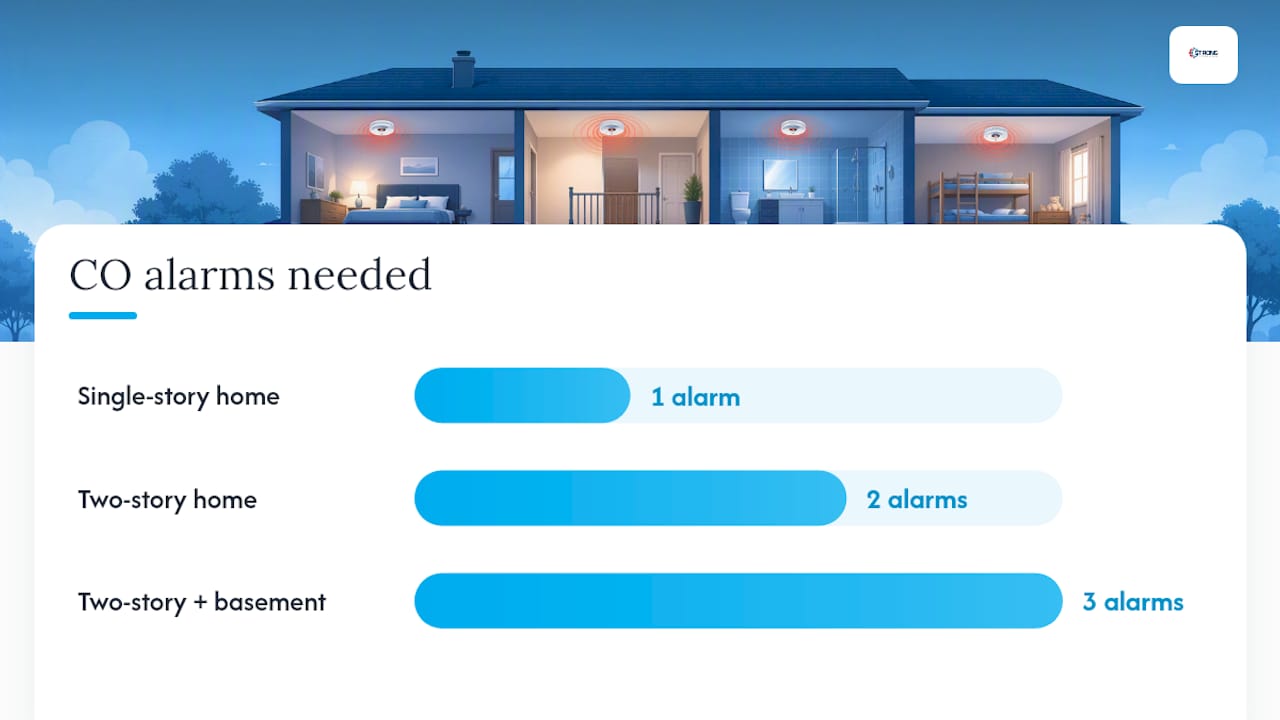
Sleeping areas get their own rule. The EPA recommends placing a detector near sleeping areas so occupants can hear it in the middle of the night, and most guidance narrows that further: within about 10 feet of each bedroom door, per the placement diagrams that HVAC technicians rely on for new installs. If bedrooms sit far apart or on different wings of the house, one hallway alarm won’t cut it. You need coverage outside each cluster of bedrooms to ensure all sleeping occupants can hear the alarm.
Beyond the minimum, a few locations pay off:
- Near the entry point from an attached garage, but inside the house.
- Close to (not right beside) the furnace or water heater, respecting the 15-foot buffer.
- Inside individual bedrooms, especially where a local ordinance requires it. State statutes vary, so check your municipal code before assuming national guidance is the ceiling.
Carrier’s installation guidance backs the same per-level minimum and recommends keeping units 15 to 20 feet from combustion equipment, a range worth treating as your default spacing.
Mounting Height and Exact Placement Details
Ceiling mounting, or high on the wall within 12 inches of the ceiling, gives you the fastest response time. Carbon monoxide mixes with ordinary room air almost immediately because it has roughly the same molecular weight, so it doesn’t pool near the floor the way people sometimes assume. It rides air currents and tends to concentrate near the ceiling in a slow, rising plume, similar to how heat spreads from a lit stove. A detector mounted low will still catch it eventually, but a ceiling unit catches it sooner and sounds louder from that vantage point, since sound also carries better from a high, unobstructed position.
Optimal CO detector location checklist:
- Ceiling-mount or within 12 inches of the ceiling for the quickest detection.
- If wall-mounted, position it high, never near the floor.
- Keep it roughly 15 feet from any fuel-burning appliance, including gas ranges, water heaters, and furnaces.
- Avoid dead-air pockets like corners, behind furniture, or inside closets.
Plug-in models that sit at outlet height are acceptable and meet the same UL 2034 certification standard as ceiling units, but they respond a touch slower simply because they sample air lower in the room. If outlet height is your only option in a given room, it still beats no detector at all.
Statistic to know: The NFPA recommends a central location outside each sleeping area on every level of the home, and pairs that recommendation with interconnection for the strongest possible protection, a combination that matters more than any single unit’s sensitivity rating.
Placement by Room: Basements, Garages, Kitchens, and Bedrooms
Every room type comes with its own quirks, and getting them wrong is how homeowners end up with either a blind spot or a detector that cries wolf every time someone cooks dinner.
- Basements. Required on the code-baseline standard, not optional. Mount it near the mechanical area where the furnace and water heater live, but respect the 15-foot clearance from those appliances themselves.
- Attached garages. Never mount a detector inside the garage. Vehicle exhaust and cold-start fumes will trigger nuisance alarms constantly. Instead, place one just inside the house at the door you use to enter from the garage.
- Kitchens. Keep detectors 5 to 10 feet away from gas stoves and ranges. Cooking produces trace combustion byproducts that can set off a sensor mounted too close, even when nothing is actually wrong.
- Bedrooms. Outside the door is the minimum every major standard agrees on. Some state and local codes go further and require a unit inside each bedroom, particularly in newer construction or rental units, so confirm your local requirement before deciding one hallway unit is enough.
Where Not to Install CO Detectors
Some locations quietly wreck sensor accuracy, and homeowners rarely realize it until the alarm starts acting erratic or, worse, stays silent when it shouldn’t.
Skip these spots entirely:
- Bathrooms, where humidity corrodes the internal sensor over time.
- Anywhere in direct sunlight, since heat swings can skew sensor readings.
- Right next to windows, doors, or vents, where drafts dilute the air sample before it reaches the sensor.
- Dead-air corners and behind curtains or furniture, where air simply doesn’t circulate.
- Inside an attached garage, for the nuisance-alarm reasons already covered.
Extreme temperature and moisture are the two biggest threats to a CO alarm’s electrochemical sensor. Heat can accelerate sensor drift, and humidity can cause premature failure, which is exactly why bathrooms and uninsulated attics are poor choices even though they technically sit on a habitable level.
Pro Tip: If a detector keeps false-alarming near the kitchen, don’t just move it farther away and forget about it. Log the date and circumstance each time it happens. A pattern of alarms tied to a specific appliance is worth mentioning to an HVAC technician, since it can sometimes point to a real combustion problem rather than a sensor quirk.
Installing, Interconnecting, and Testing Your Alarms
Getting placement right is half the job. Keeping detectors functional for years is the other half, and it’s the part most households let slide.
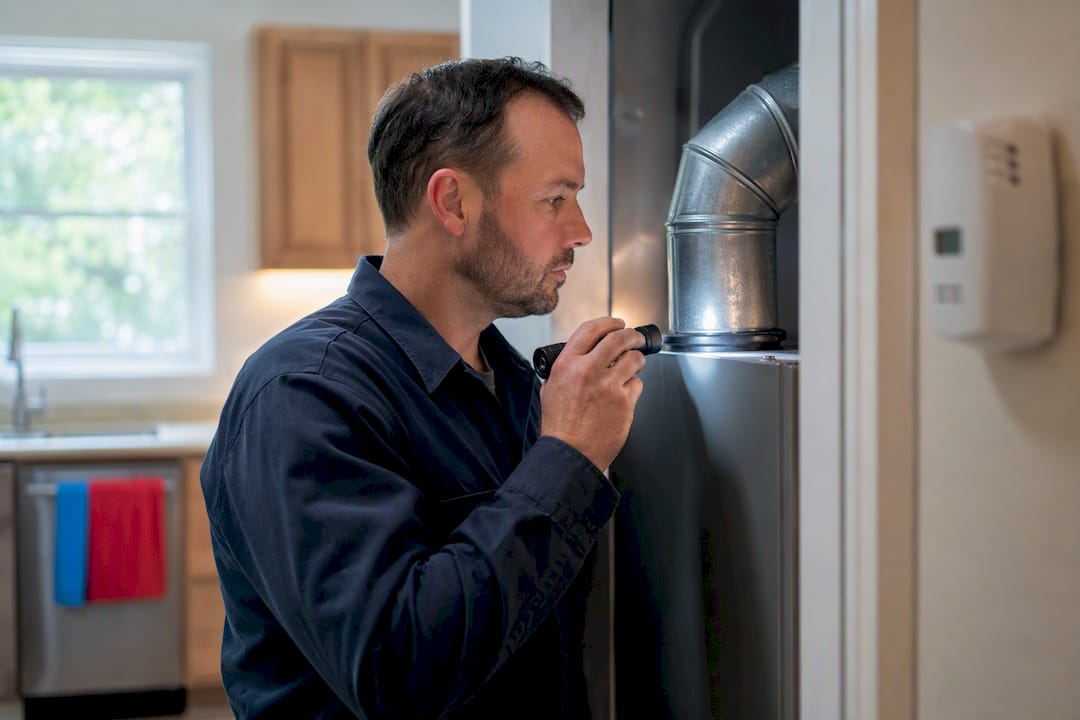
- Follow the manufacturer’s instructions for wired or wireless interconnection. When one alarm senses CO, every interconnected unit in the house sounds, which the NFPA notes is the single best upgrade for waking occupants who are asleep on a different floor.
- Test every alarm monthly using the built-in test button, and vacuum the vents twice a year to clear dust that can dull sensor accuracy.
- Replace batteries on whatever schedule the device calls for, and replace the entire unit at end-of-life, typically 5 to 7 years depending on the manufacturer.
- Write the install date on the unit itself and set a recurring reminder, since most people forget exactly when they put a detector up.
| Task | Frequency | Why it matters |
|---|---|---|
| Press test button | Monthly | Confirms alarm and sensor function |
| Vacuum vents | Twice yearly | Removes dust that dulls sensor response |
| Replace batteries | Per manufacturer | Prevents silent power failure |
| Replace entire unit | Every 5 to 7 years | Sensors degrade even with clean batteries |
Hardwired units make the most sense during new construction or a remodel, since interconnection is simpler to wire in before walls close up. Battery-operated and plug-in models are the practical choice for existing homes where rewiring isn’t worth the cost.
What to Do When the Alarm Sounds
Move everyone outside to fresh air immediately, then call 911 or your local emergency number from outside the house, not from the hallway near the alarm.
Do not go back inside to grab belongings, check on pets, or “just see if it’s a false alarm.” Wait until emergency responders clear the building and tell you it’s safe. Once everyone is cleared to return, have a qualified technician inspect every fuel-burning appliance and its venting before you treat the alarm as resolved. Our emergency safety steps guide walks through the same sequence in more detail if you want a printable reference to keep near your alarm panel.
When a CO Alarm Isn’t Enough: Calling a Professional
A CO alarm is a life-safety backup, not a maintenance plan. It tells you gas is present; it doesn’t tell you why, and it can’t fix a cracked heat exchanger or a blocked flue.
If your alarm has gone off more than once, if you smell anything unusual near your furnace or water heater, or if you spot soot around an appliance, that’s not a job for troubleshooting on your own. A qualified inspection checks vent and chimney integrity, runs a combustion analysis, and tests draft performance to confirm appliances are burning and venting safely.
Strongheatingandcooling has built more than 40 years of combined experience diagnosing exactly these problems around Colorado Springs, and our residential HVAC maintenance guide covers what a thorough seasonal check actually involves.
Why We Pair Detectors With Professional Maintenance
Detectors catch a problem after it starts. Professional maintenance is what stops that problem from happening in the first place, and after 40-plus years of combined experience in this trade, that pairing is the only advice worth trusting completely. Put alarms where the standards say, test them monthly, and get your furnace and water heater looked at by a qualified technician before a small venting issue becomes a middle-of-the-night evacuation. If something about your system has you uneasy, have an HVAC pro take a look.
— Owner
Sources
- CPSC — CO Alarms
- EPA — Where should I place a carbon monoxide detector?
- NFPA — Carbon Monoxide safety
- HVAC Base — Carbon monoxide detector placement guide
FAQ
How many carbon monoxide detectors does a house need?
At minimum, one on every habitable level including the basement, plus additional units outside each sleeping area within about 10 feet of bedroom doors.
Should a CO detector be on the ceiling or the wall?
Ceiling mounting or high on the wall within 12 inches of the ceiling gives the fastest detection, since CO mixes into rising air currents throughout the room.
Can I put a carbon monoxide detector in the garage?
No. Mount it inside the house near the garage entry door instead, since vehicle exhaust in the garage itself will trigger constant nuisance alarms.
How far should a CO detector be from a furnace?
Keep it at least 15 feet away from furnaces, water heaters, and other fuel-burning appliances to avoid nuisance triggers while still detecting a real leak.
How often should I replace my carbon monoxide detector?
Replace the entire unit every 5 to 7 years depending on the manufacturer, and test it monthly in between with the built-in test button.
Recommended
Need expert HVAC help?
Colorado Springs' veteran-owned heating & cooling team — Mon–Sat, 8 AM–7 PM. Same-day service when available.